How to set up a Raspberry Pi 5 with a PoE HAT and an NVMe SSD
After watching many YouTubers have fun with their mini-racks and Pi clusters, I wanted in on the action. The nerd in me just loves the idea of having its own Kubernetes cluster at home, with switches and redundancy, however overkill it might be. Just for the sake of it.
Whether you have a good reason to start, or simply want to nerd out and find a reason later, welcome to this series of articles. This first one is dedicated to the hardware choices and installation.
While I do want to build my own cluster, I didn't want to spend too much and end up with something I wouldn't really use, so I decided to start with the bare minimum: a Pi 5, an SSD, and a PoE switch. Eventually, I think I will build a complete cluster, but that will be for another article.
First, we need a reason to do this. What are you trying to achieve? For me, I didn't really have one, so I decided to make one up because I just wanted to work with a Raspberry Pi. The idea then became to self-host this very blog, my portfolio, and eventually other services on this little machine.
Little, but mighty. I am actually quite surprised by how well it performs, and if you are reading this website, try reloading the page and observe how quickly it loads. All of that from a little Raspberry Pi 5 with 8GB of RAM. But we we will dicuss performance later in this series..
So why Raspberry Pi?
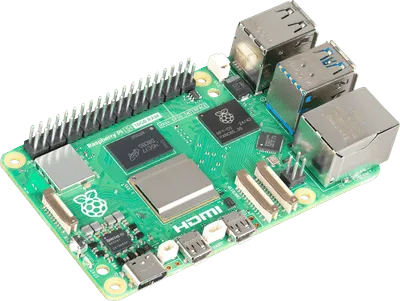
There is a lot to like about the Pi 5: the small form factor, the low power draw, and the relatively good performance. Since it has a huge community, the Pi 5 is also very well documented, which makes it easy to work with and easy to upgrade with many different HATs.
That said, the Pi is limited to PCIe 3.0 x1, so an NVMe SSD is useful but capped, and some competitors can offer better performance, like the Orange Pi 5 or the ROCK 5B. Heck, if you are willing to spare a few more watts and accept a larger form factor, some kind of Intel N100 or N97 mini PC might actually be a better deal in terms of performance per dollar.
But I do care about small size, low wattage, and the large community. For one, I don't have to think too much about running this server all day: it draws only around 3W on average. It is small enough that it doesn't clutter my desk, and setting it up was a breeze thanks to all the blogs and forums out there to help you out. Or help ChatGPT help you out.
What did I buy, and why?
First, I wanted to work with PoE, or Power over Ethernet. PoE is great because it allows you to power low-power devices directly through RJ45 cables. This would ultimately reduce the number of cables, especially since my plan is to buy more Pis in the future and make a proper cluster.
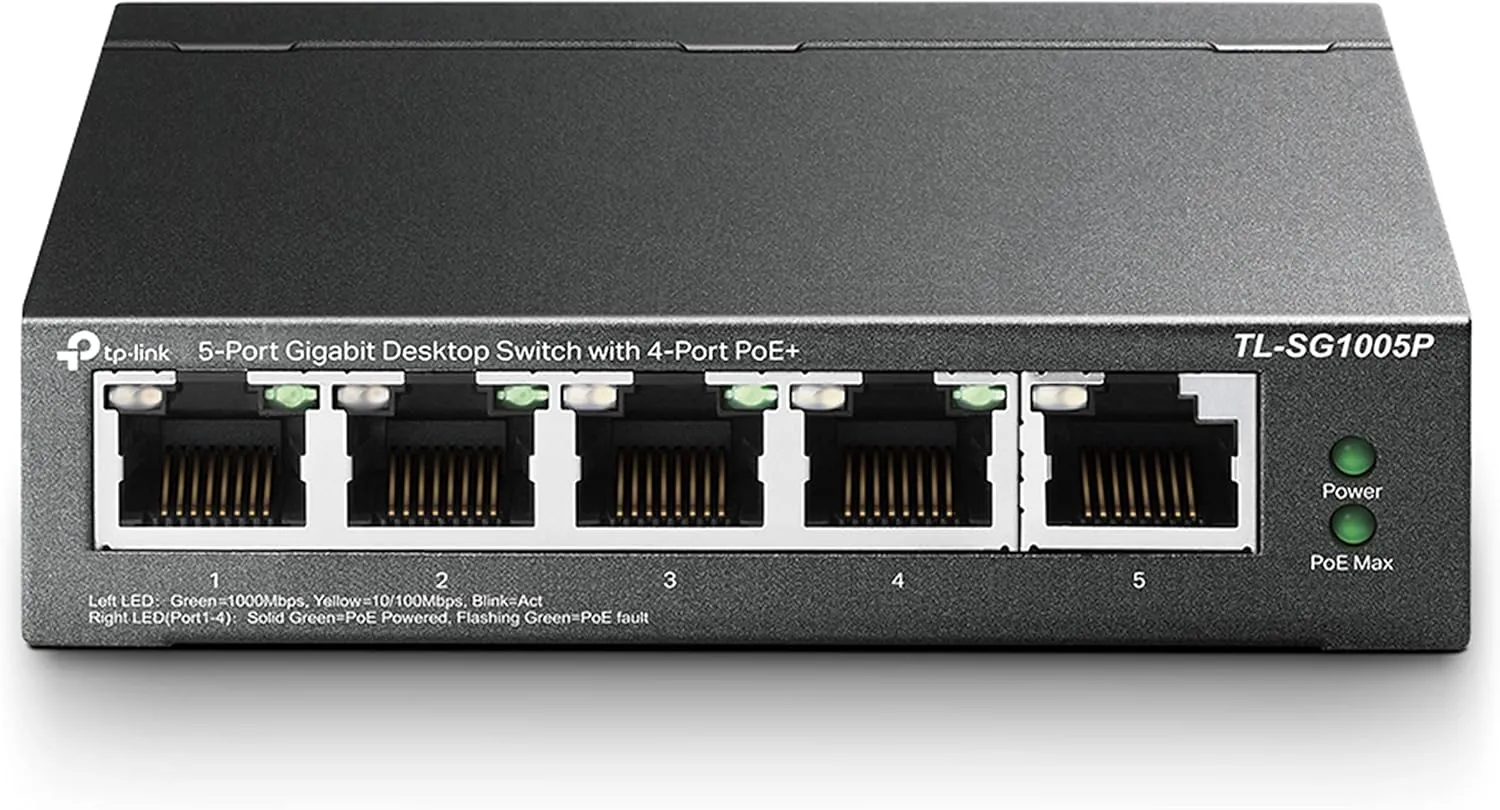
The Pi 5 only consumes a few watts, depending on the HATs and extensions you use. In my case, it averages around 3W with peaks around 6W. PoE, on the other hand, can provide anywhere from around 12W up to 70W, depending on the standard used. I went for a PoE+ Switch (TL-SG1005P V2) able to provide up to 30-40W per port and a max total of 113W. Be careful, though: not all Ethernet cables are equal, especially for higher power levels. I would recommend Cat6a if you want to be safe, but Cat5e may already be enough for a Pi 5.
Then, while I knew many Pi users tend to use SD cards, I also knew they come with a few drawbacks in terms of reliability and speed. So I decided to buy a basic SSD, knowing I would be limited by PCIe 3.0 x1, which in practice means around 500 MB/s at best. Hence, a cheap SSD would do just fine and would still be dramatically better than an SD card.
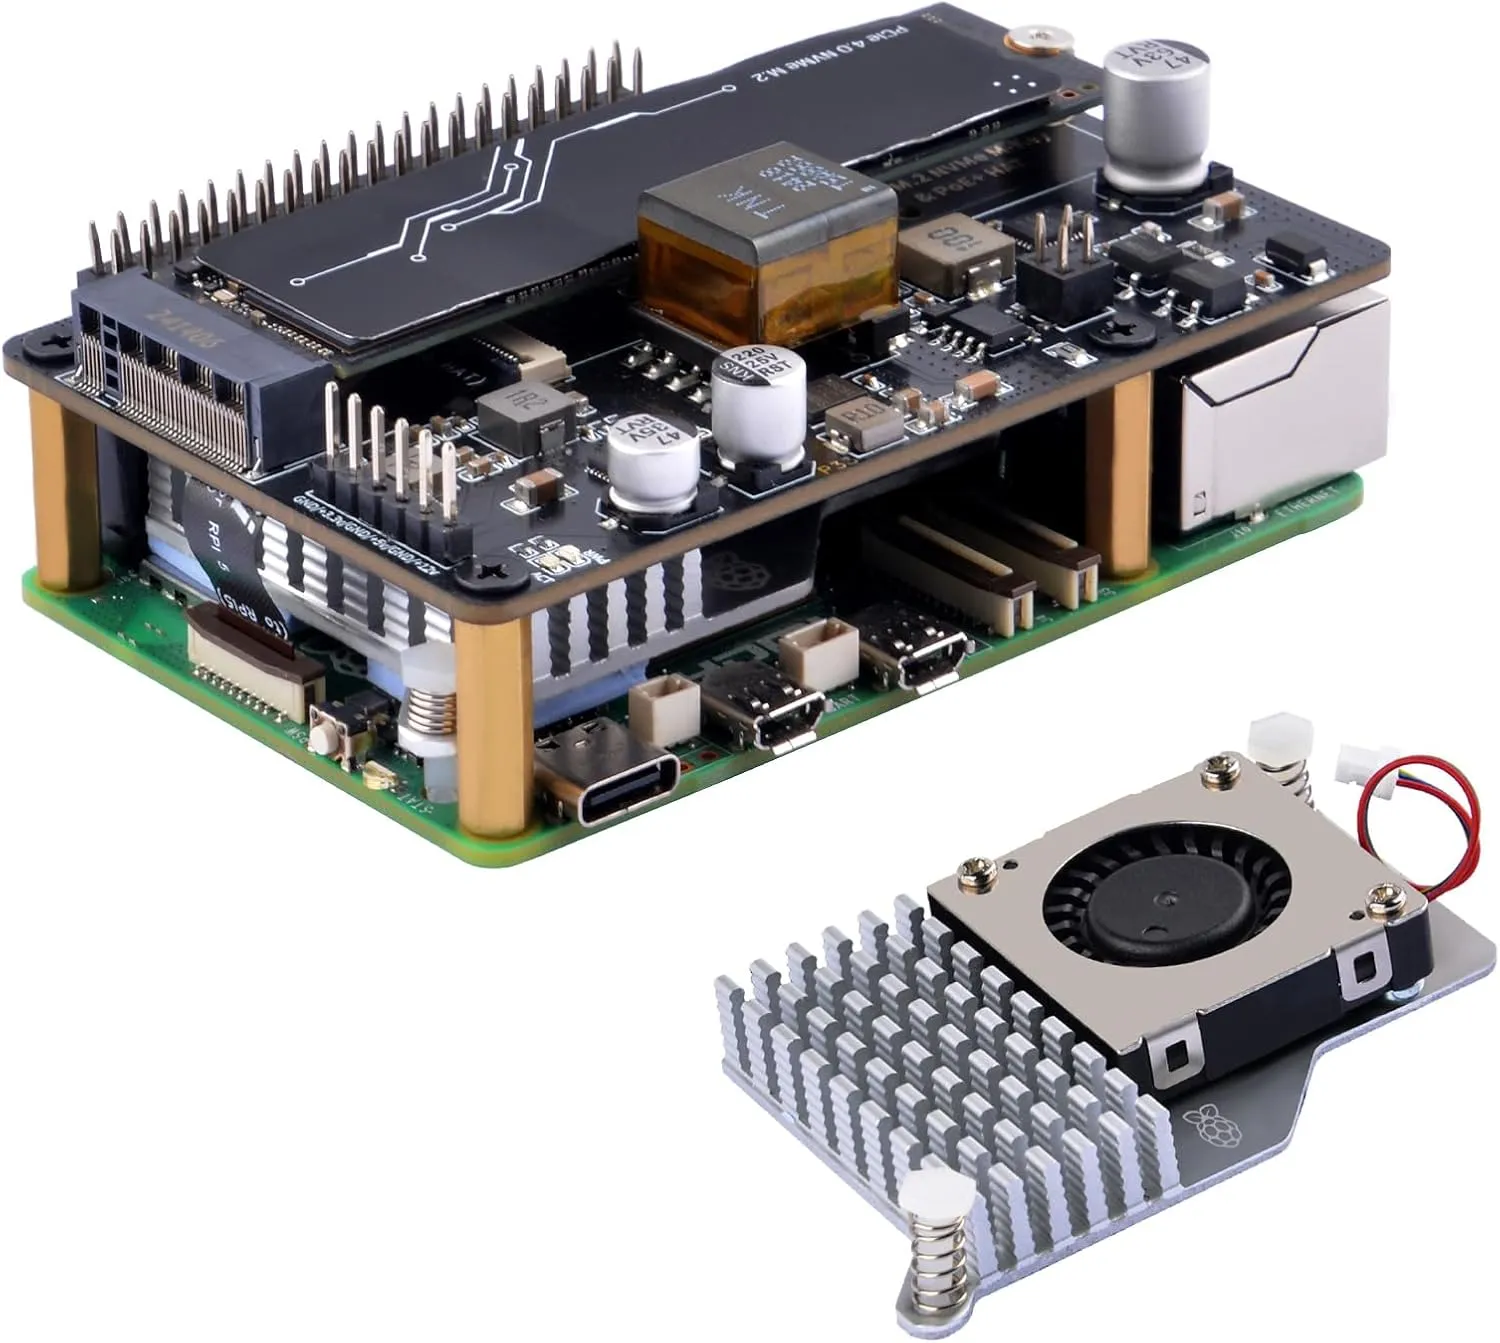
The Pi 5 does not support PoE out of the box, nor does it have an M.2 slot, so I bought a HAT that does both.
I also bought a very cheap case meant for Pi clusters, but I think I will quickly move to a 10-inch mini-rack at some point. Is it useful? No. But does it look cool? Yes.
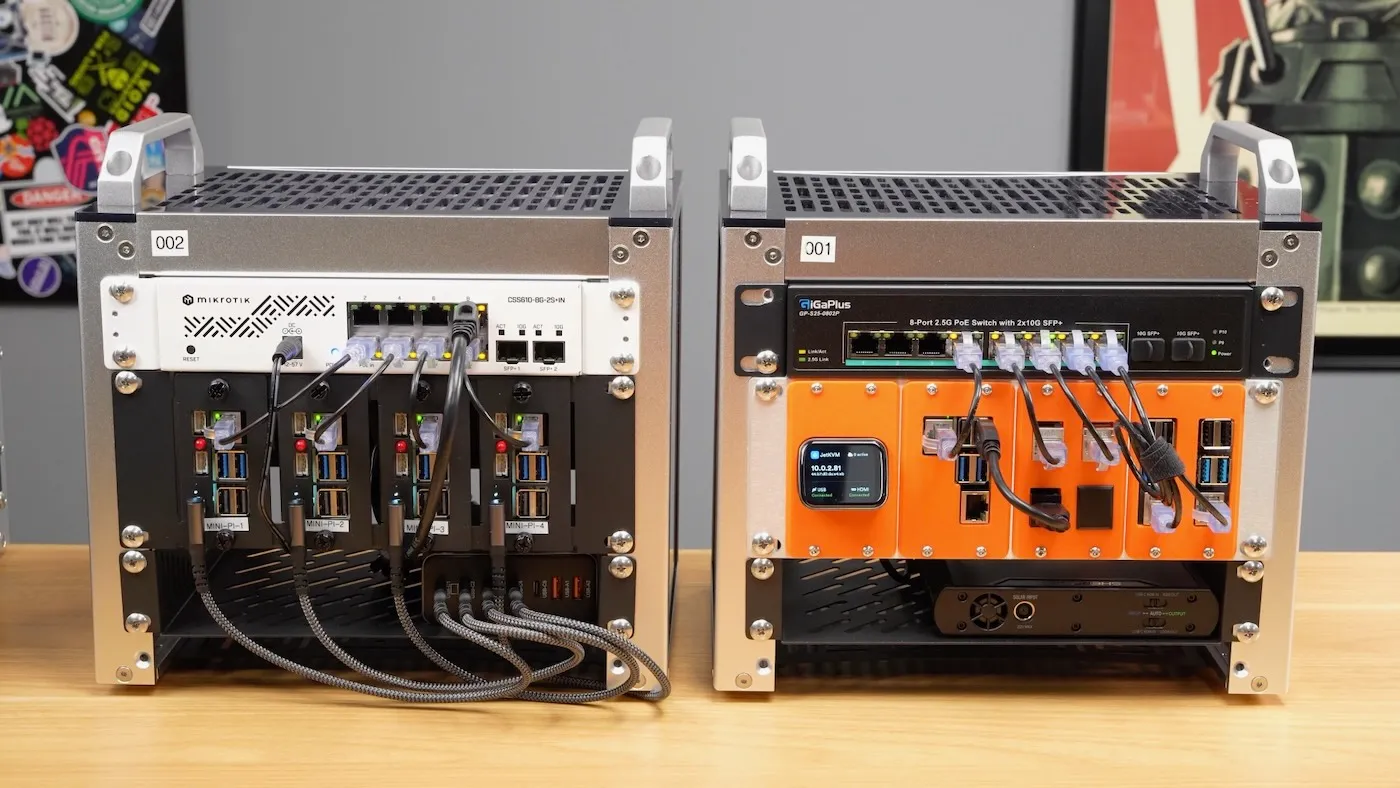
I don't know, there is just something about seeing many Ethernet cables neatly plugged into a tiny rack that makes these setups look incredibly cool, even if one machine could do the same job. Still, I guess you could argue that a cluster is better for redundancy, if that matters in your situation, since a well-configured cluster can survive some failures while the whole thing remains online.
In total, I bought:
- Raspberry Pi 5 8GB
- 256GB NVMe SSD
- A small active cooler for the Pi
- A small HAT that provides PoE and adds an M.2 slot
- A PoE switch, so I only ever need one cable to connect to the Pi
- A small case and some cables
For a total of €285.53, with the Pi itself costing around €140 for the 8GB version.
Time to put everything together
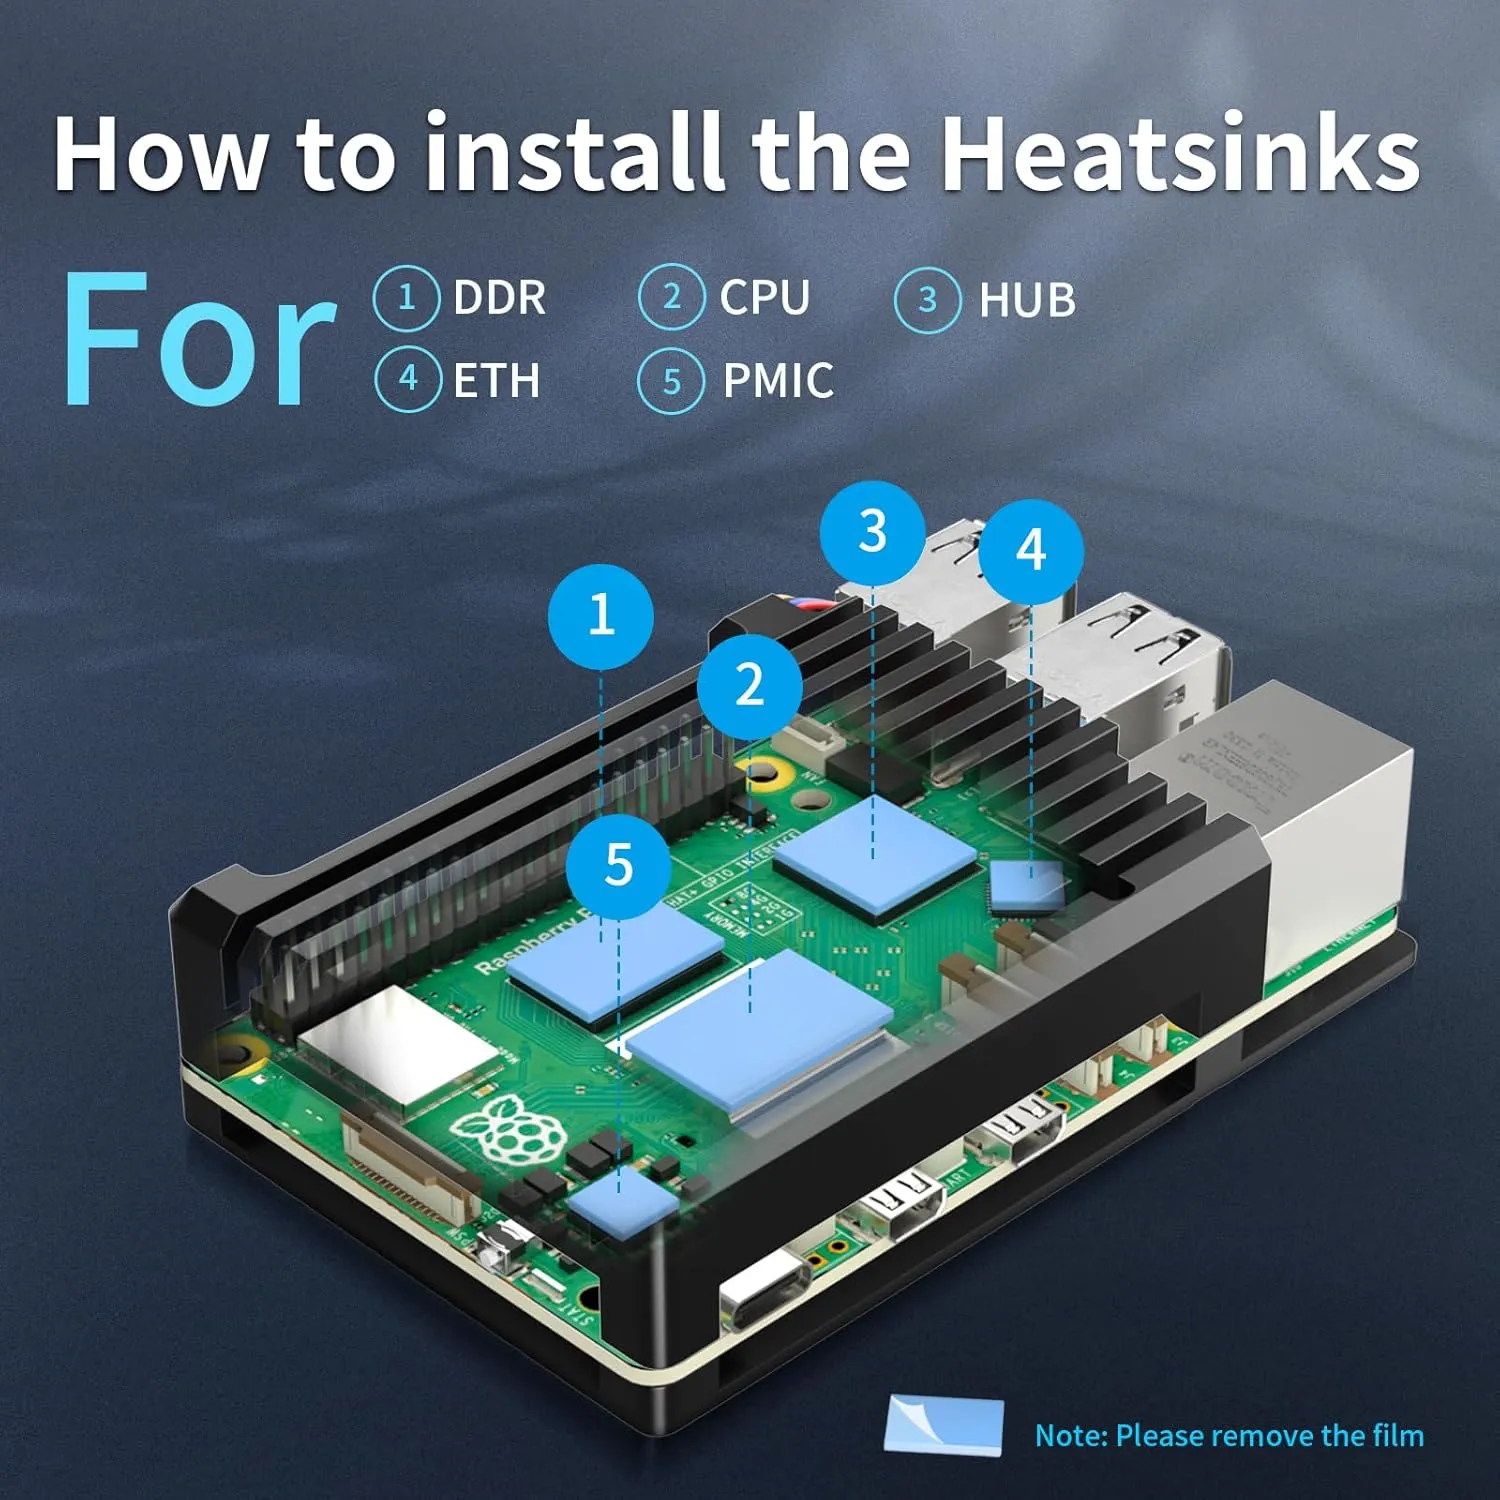
Plugging everything together was relatively easy. I placed the thermal pads that came with the official cooler more or less everywhere I saw some kind of chip or thing that I assumed would get hot, and the cooler simply clips onto the Pi.
Beware: the clipping solution of the official cool makes the cooler really hard to remove afterward.
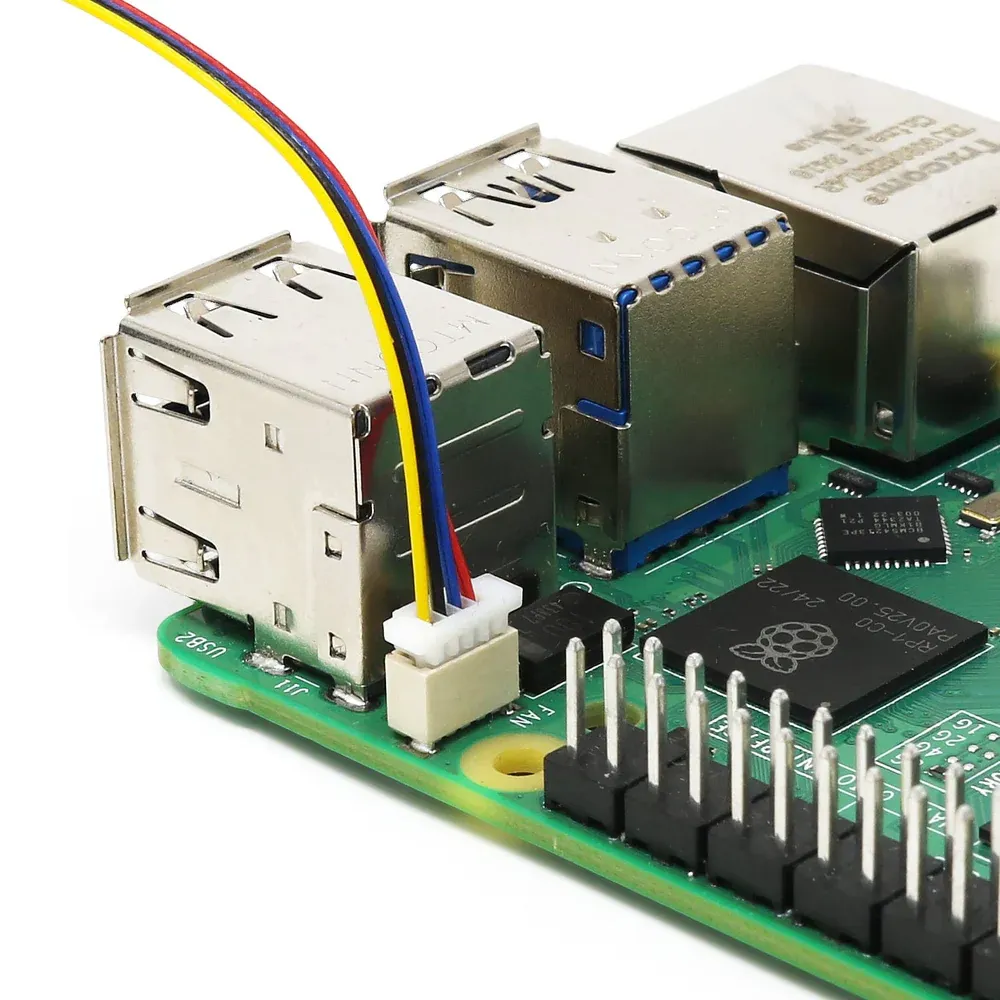
Beware 2: the little connector for the fan motor are really fragile, and I bent them at first without noticing. Finding that out much later was really hard to debug, and unbending, while I did manage to do it, I had to use a needle for sewing.
The HAT was also relatively easy to mount, except for the tiny PCIe ribbon cable, which is really finicky to plug into the Pi.

As for the case, the screws provided were not great, and the spare ones I had bought were not the right size either. Eventually, I managed to find enough random screws lying around to make it work, but that wasn't a great experience. Maybe I was unlucky, but I wouldn't recommend the case; then again, it looked cheap, so what did I expect?
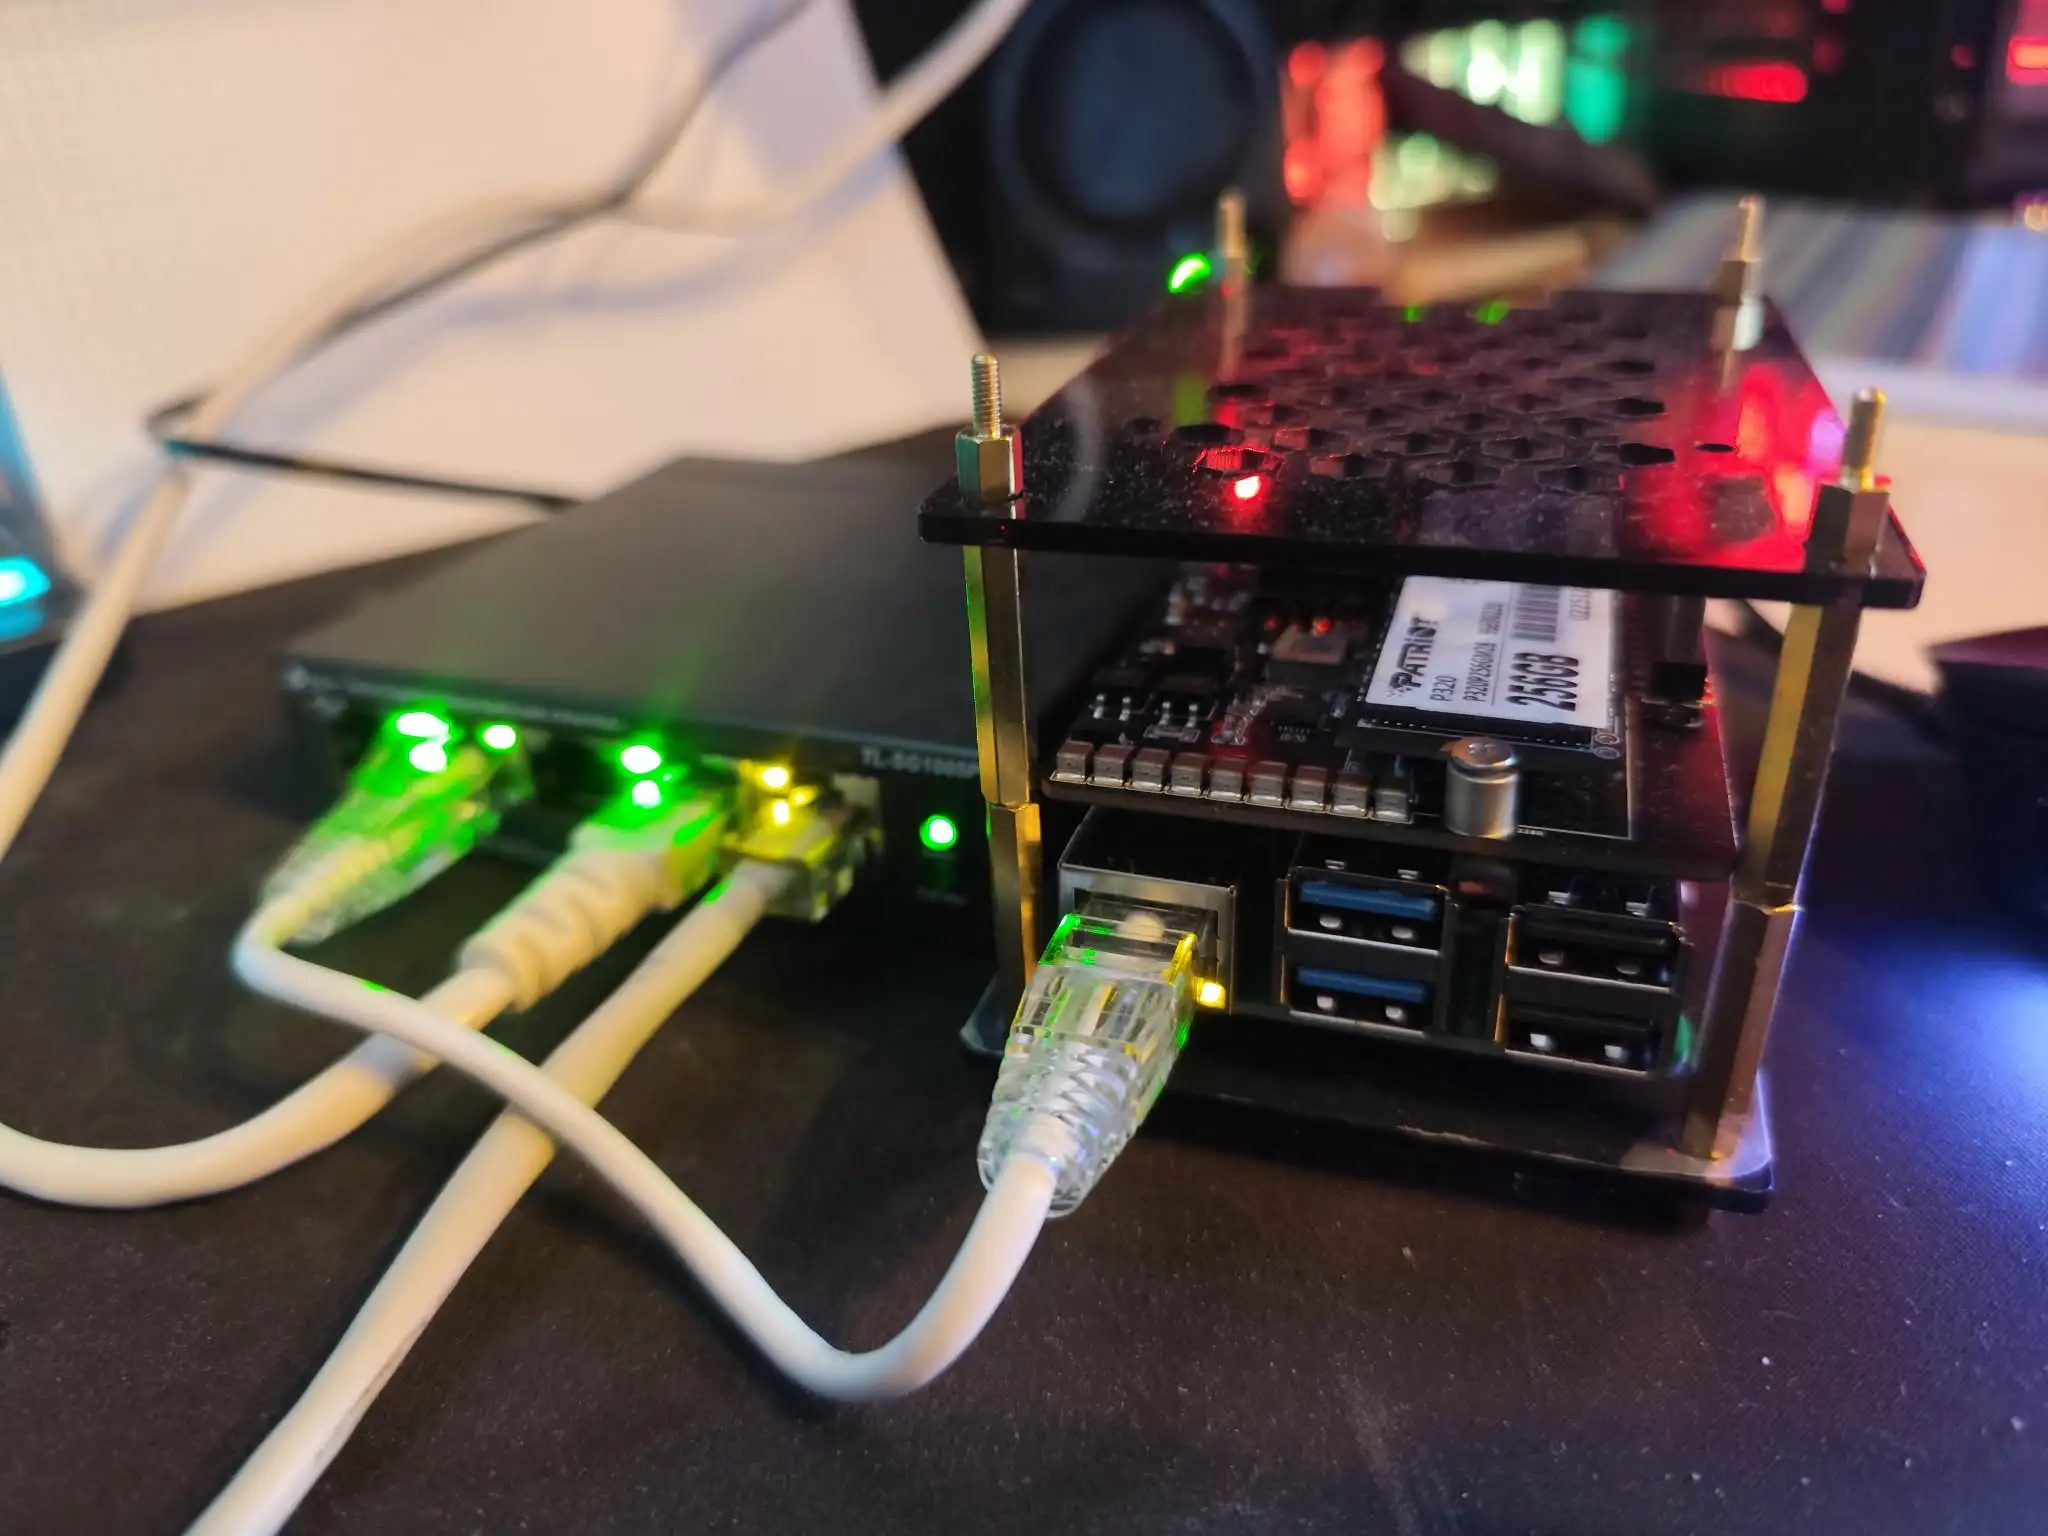
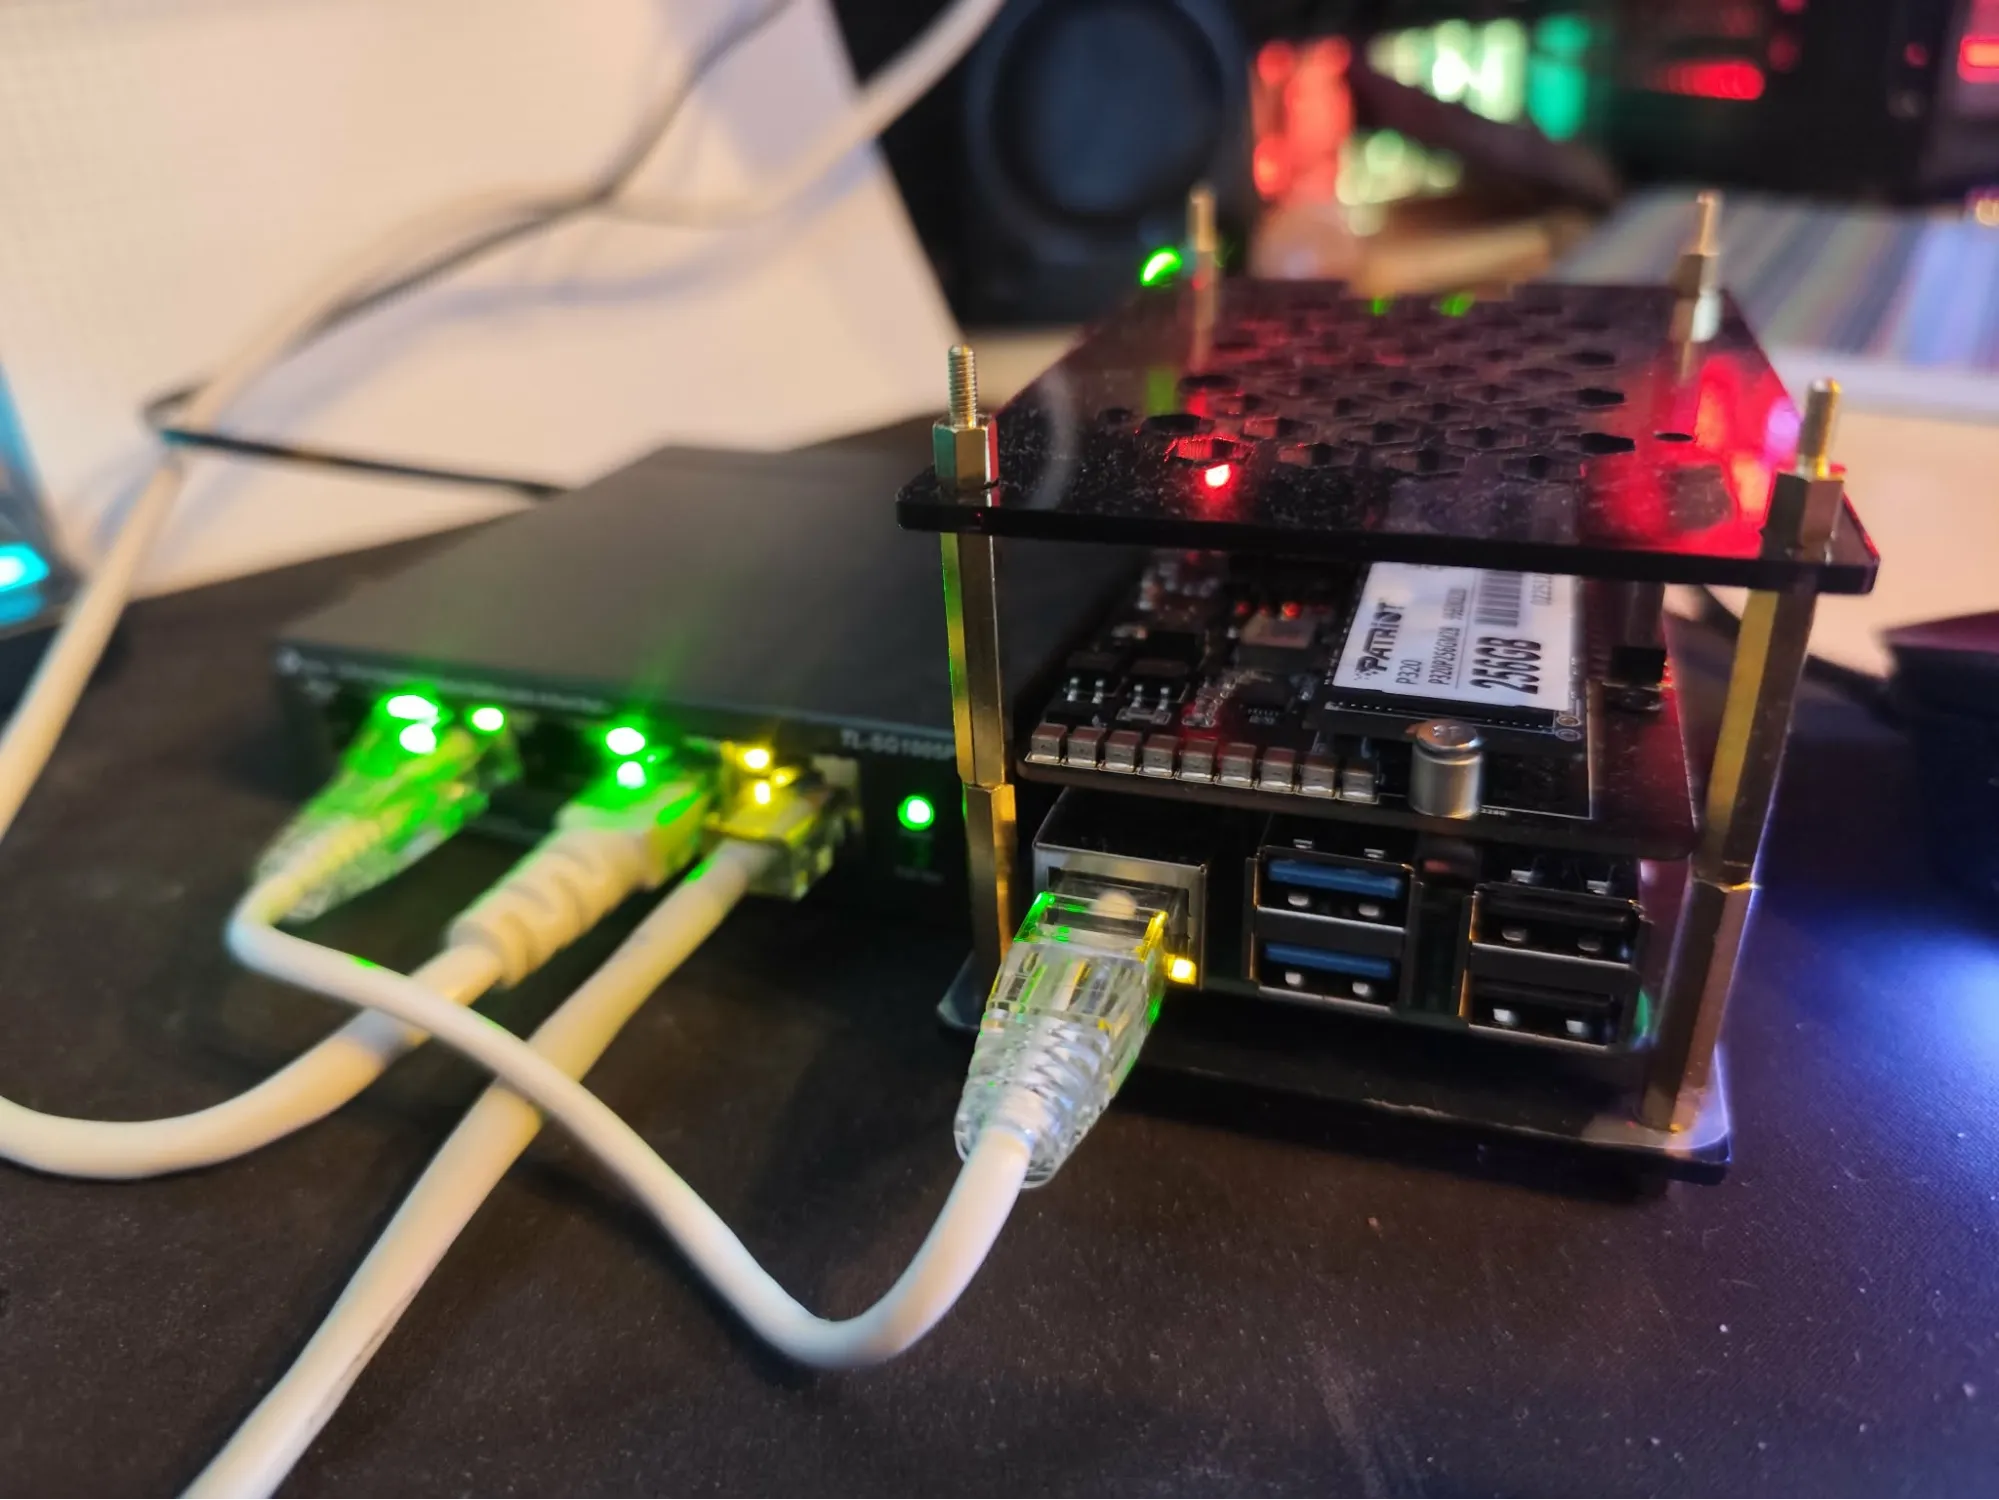
For the rest, everything was just a matter of plugging in cables and the SSD, and there I had my first cute little server.
Let's get a boot going
Now it was time to finish setting up the hardware with an operating system. I chose Raspberry Pi OS because it allows you to boot and go through the installation setup over the network, which was very convenient. I went with the Lite version since this would be a headless Pi, and I wanted to avoid unnecessary bloat.
Using the Raspberry Pi Imager, I created a bootable USB drive and plugged everything in. The Pi started to boot, and the installation itself went without much trouble.
That said, I did have to make a few changes to the boot configuration:
First, I disabled Wi-Fi since I had decided to use Ethernet and did not want the Pi to waste power or CPU on wireless networking. Then I had to inform the Pi that I had a heatsink fan attached, otherwise the fan wouldn't spin.
dtoverlay=disable-wifi
dtoverlay=fan-heatsinkNext, I also enabled PCIe Gen 3 since the Pi 5 uses Gen 2 by default. Gen 3 is still technically experimental, but in practice it seems quite stable. This will make my SSD a little bit less capped in term of speed.
dtparam=pciex1
dtparam=pciex1_gen=3I also had to allow more current draw over USB so that booting from the USB port would work properly, because it did not work otherwise. People usually boot from SD card where this is not an issue.
usb_max_current_enable=1I added all of this to /boot/firmware/config.txt on my USB boot drive. Nonetheless, this file can also be edited after installing the OS with:
sudo nano /boot/firmware/config.txtAnd here are the lines I added:
[all]
dtparam=pciex1
dtparam=pciex1_gen=3
usb_max_current_enable=1
dtoverlay=disable-wifi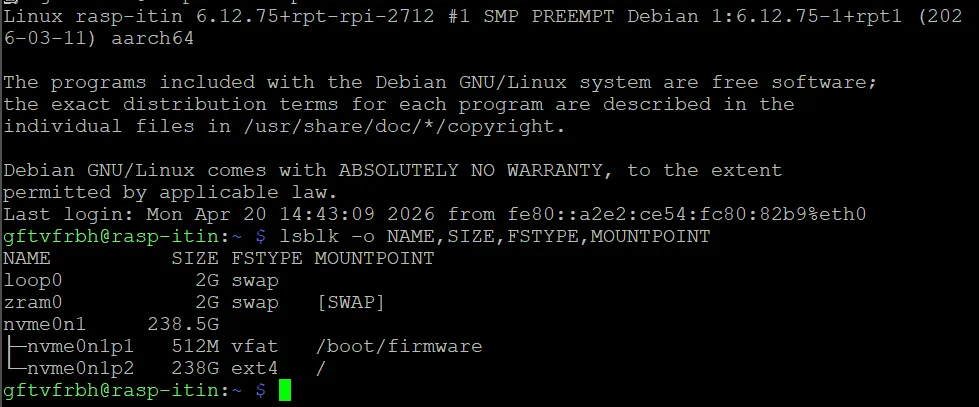
dtoverlay=fan-heatsinkAfter that, I simply installed the OS following the instructions, and the Pi was working properly, booted fine, and I could connect to it via PuTTY using the password and user defined when creating the image.
And voila! My Pi is now alive and well, in the next article we will see how to move the OS from the USB drive to the SSD.


Judicael Poumay (Ph.D.)
Follow me on LinkedIn for weekly content Judicaël Poumay
As an independent AI researcher/developer specialized in Natural Language Processing (NLP), I have a comprehensive expertise in the development and integration of AI systems, as well as data analysis.
Is your company looking to integrate AI solutions, analyze data, or strengthen its back-end development? Contact me!
Related Articles
How to move the Raspberry Pi 5 OS to an NVMe SSD
Learn how to manually migrate your Raspberry Pi 5 operating system from a USB stick or SD card to a faster NVMe SSD. This step-by-step guide covers partitioning, copying files, updating boot configurations, and avoiding common pitfalls.
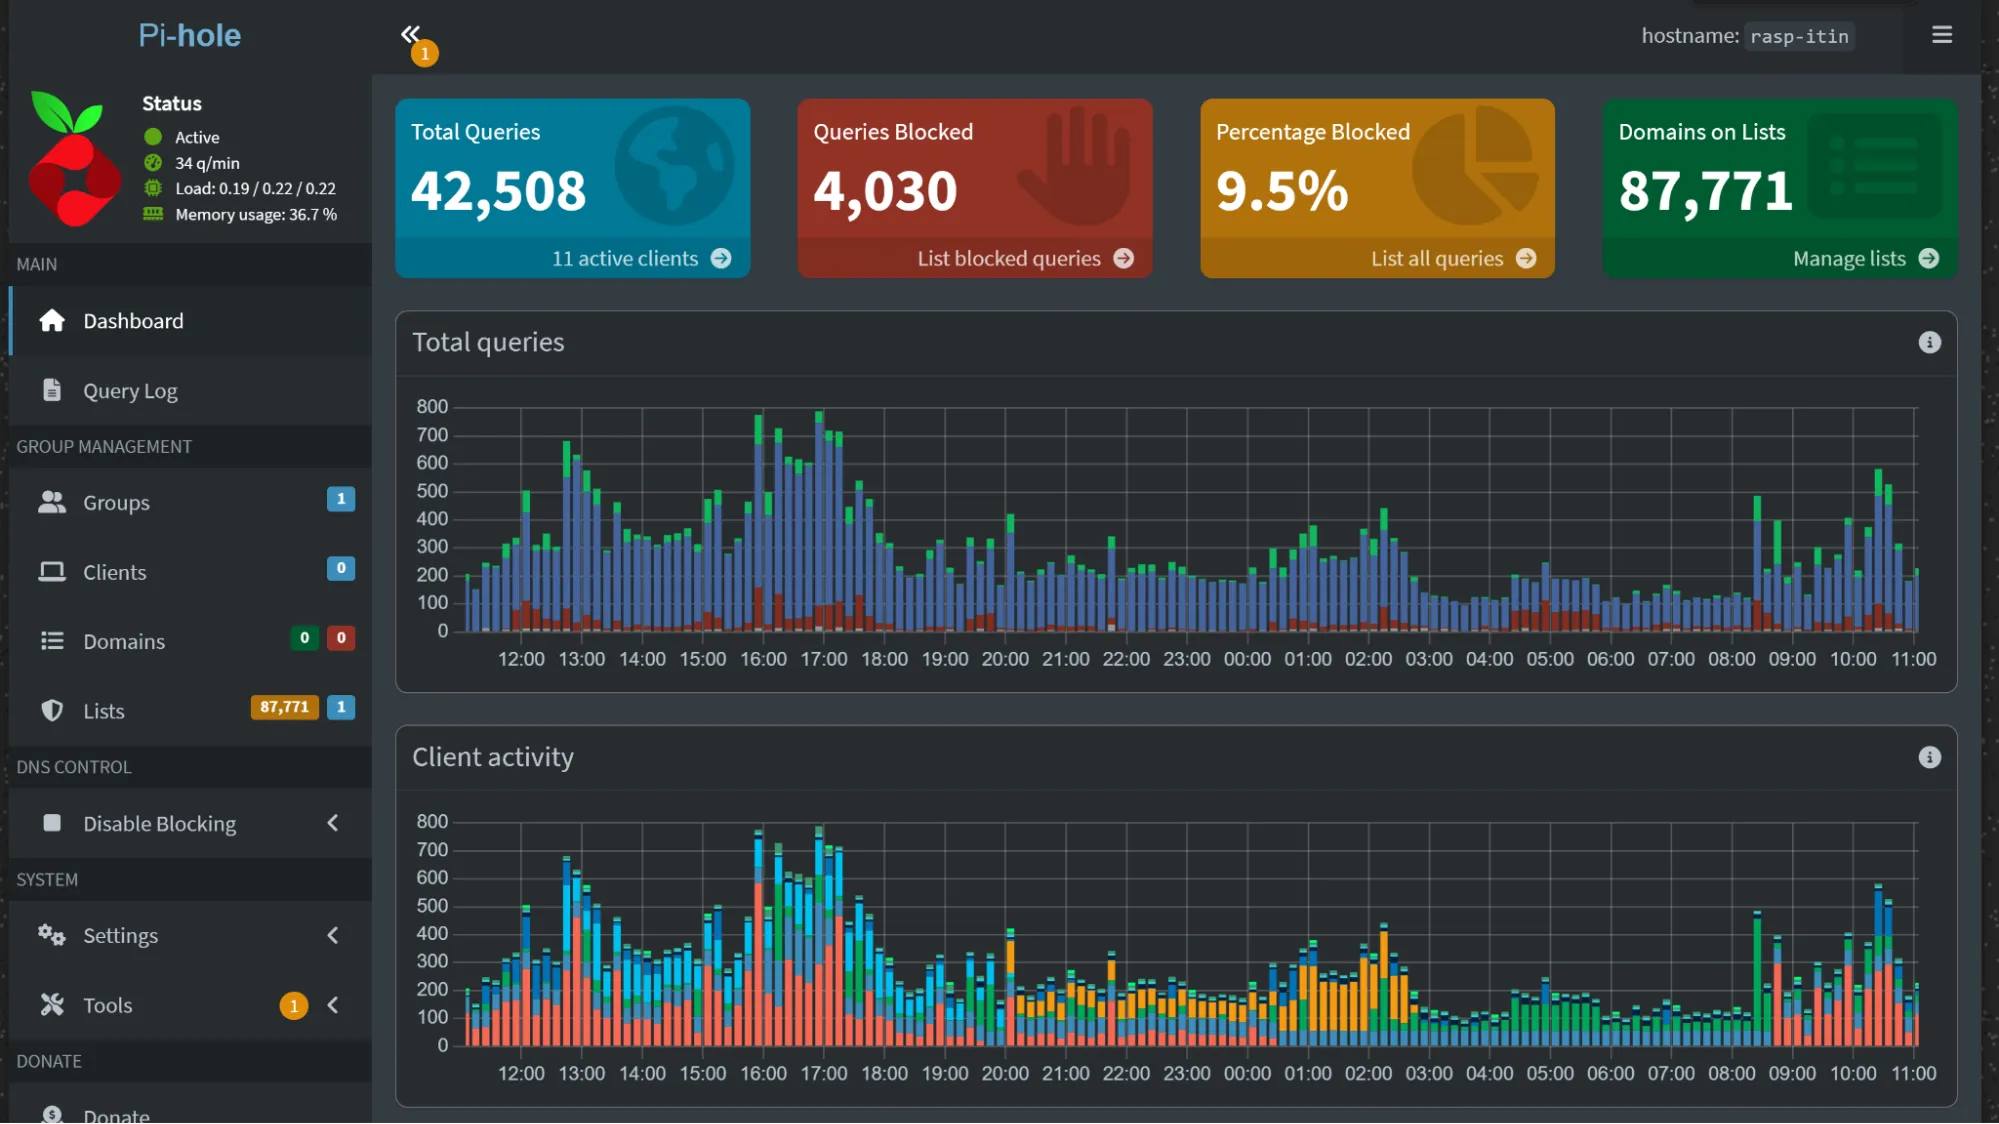
How to install and configure Pi-Hole on a Raspberry Pi 5
Learn how to set up Pi-Hole on a Raspberry Pi 5 to act as a network-wide ad blocker. This guide covers configuring a static IP, installing Pi-Hole, and routing local domains.
How to install Kubernetes K3s on a Raspberry Pi 5
Learn how to install and configure K3s, a lightweight Kubernetes distribution, on a Raspberry Pi 5. This guide covers enabling cgroups, setting up the cluster, and configuring remote access with kubectl.